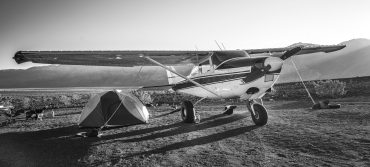
This project involved the infamous AD that came out for Cessna 210 aircraft requiring an inspection of the Carry thru spar. For those not familiar with what this entailed I’ll give a brief explication.
Unfortunately, a 1976 C210 near Queensland Australia crashed into the terrain when the wing separated from the aircraft. The evidence showed that the carry thru spar has failed.

Cessna then started to buy up C210 salvages containing this Spar and started breaking them to see what had caused the part to fail and concluded that an AD needed to be issued to inspect these on all C210 and C177 aircraft (I believe the R models did not need the inspection) for fatigue cracking. The AD requires an inspection of the part for corrosion pitting and an eddy current test that reveals cracking inside the piece not visible to the eye. Then you have to remove the corrosion, blend the pitting, treat the spar with anti-corrosion coatings, recertify the part and reinstall the piece. I am, of course, giving you the abbreviated and simple version. If your Spar fails any part of this then the wings must come off the aircraft the skin, and runners must be removed/cut, and you need a new Spar that is recertified via this AD and everything put back together including upwards of hundreds of rivest (some very specialized and expensive), new runners, paint, everything reattached and… well it’s a big deal.
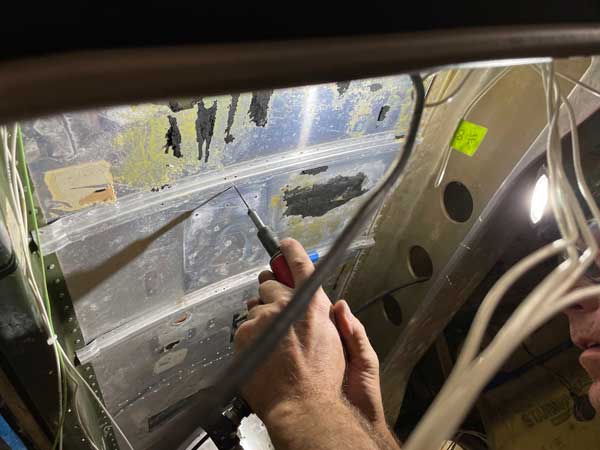
This particular C210’s Spar failed due to the dimensions of the pitting on the spar. You can see other blended pits on the spar before we removed it from the airplane:

The “J” model 210 had a rather rare Carry thru spar to hunt down known as the -9 and it took us a while working with the owner of the airplane to locate one but after months of hunting and all kinds of people telling us it could not be done and to give up, we finally found one in eastern Colorado. It has been inspected and recertified and was available for $14,500. We let the owner know and he bought it immediately, flew out to get it in a C182, and brought it back to us in Minden.
So the work began.
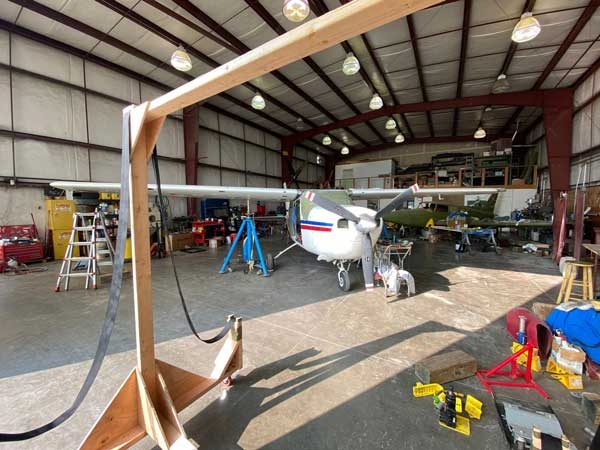
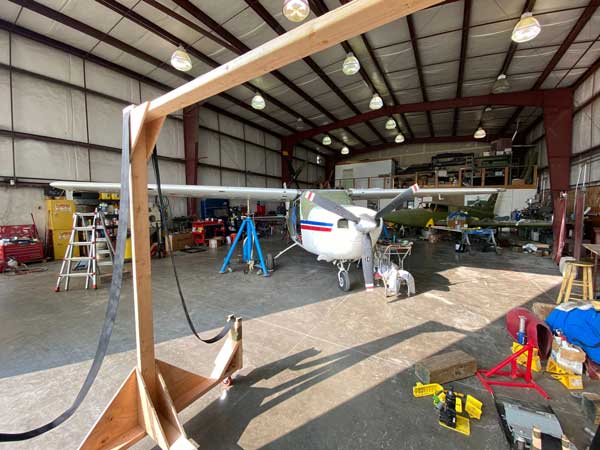
First, we needed a secure and soft way to store the wings once we got them off. So adam built a nice reusable and adjustable wing rack (it wasn’t the first time we needed to take the wings off an aircraft and it was past time we built a solution we could adapt to most projects):
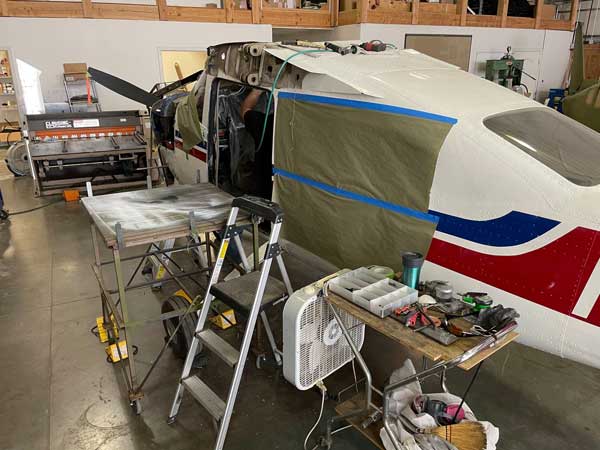
Next, we peeled back the skins and delivered everything we would need to expose the fuel lines, control cables, and the Spar itself:
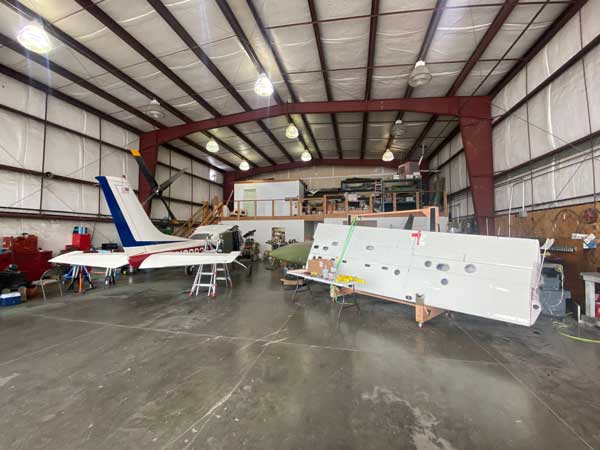
The wings took three people to remove once everything was detached and were stored in their temporary homes while the work was done:
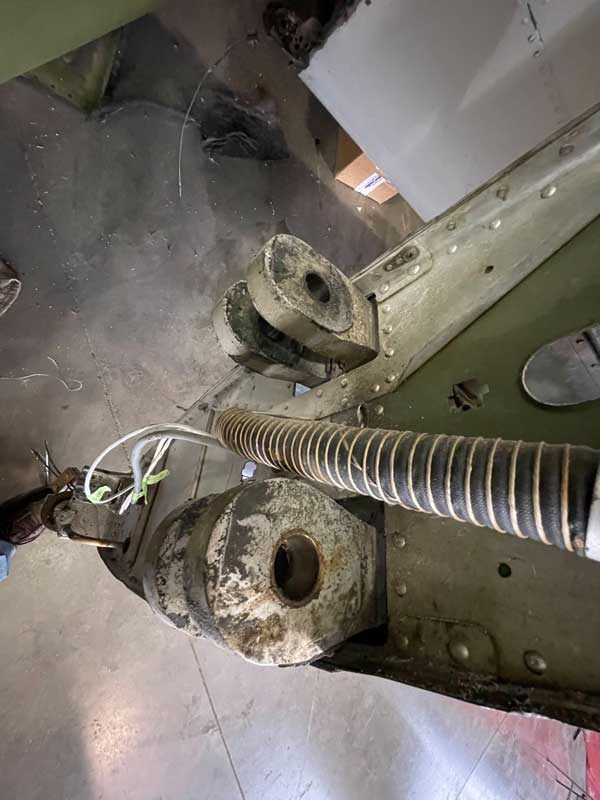
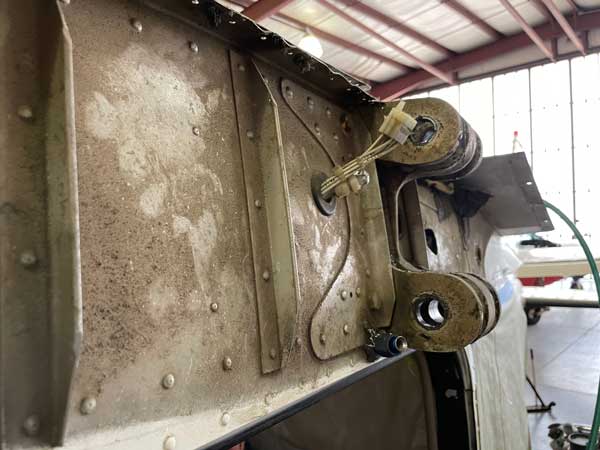
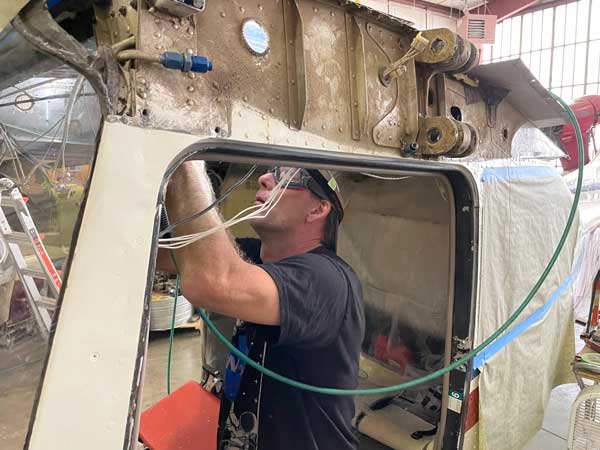
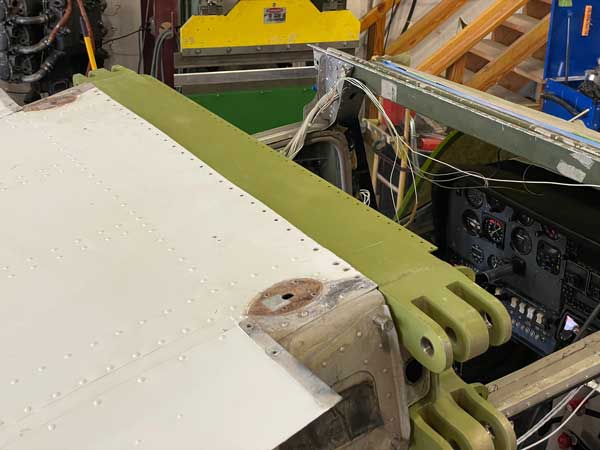
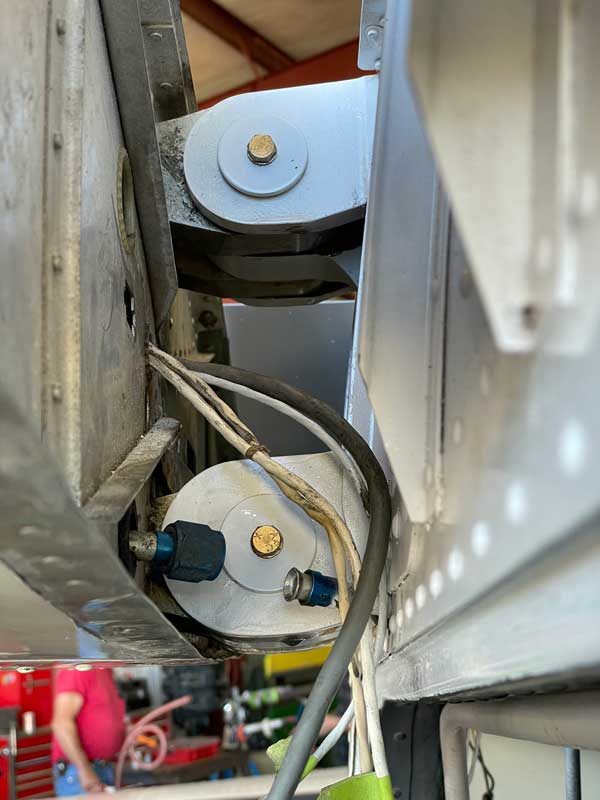
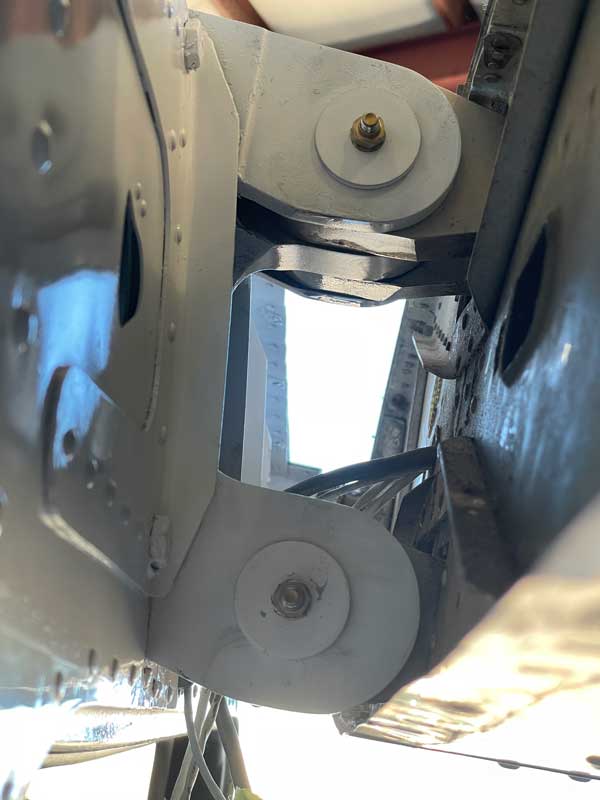
At this point, we had to really peel off some aluminum and remove a lot of rivets to expose the spar. We got a good look at the mounting points and the spar itself so I thought I would share a few images to show our readers what that looks like:
More coming on this project…
Got an update for you on the 210 Carry Thru Spar Replacement for the 69 Cessna 210. We have the old Spar removed and have placed the new spar into the aircraft without securing it in just to test the fit of the new one. It looks like it’s gonna be a good fit:
The foreseeable issue being that as we count em only two of the original rivet holes line up out of hundreds. We were hopeful that we might not have to remove the large piece of skin from behind the new spar but it’s a sure thing now. We are going to have to take that whole big piece off and reskin it.
Time to order more rivets. While we wait on that we will continue with the annual inspection and get the Spar back out and finish treating it with the protective costings required in the AD. More soon…
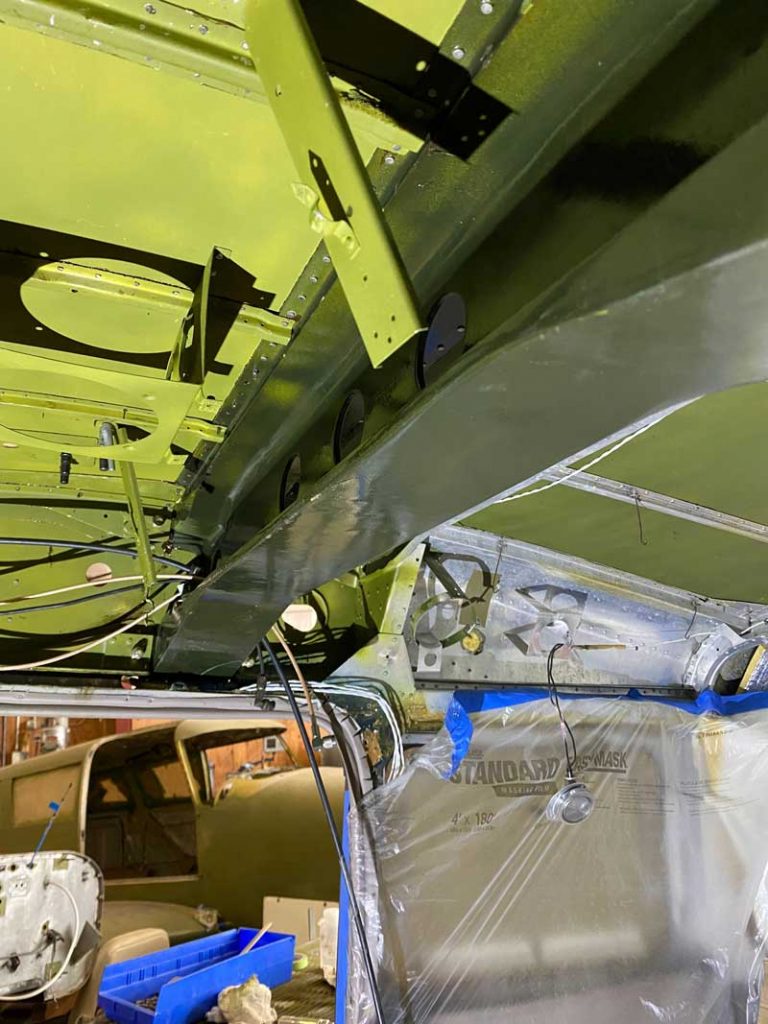
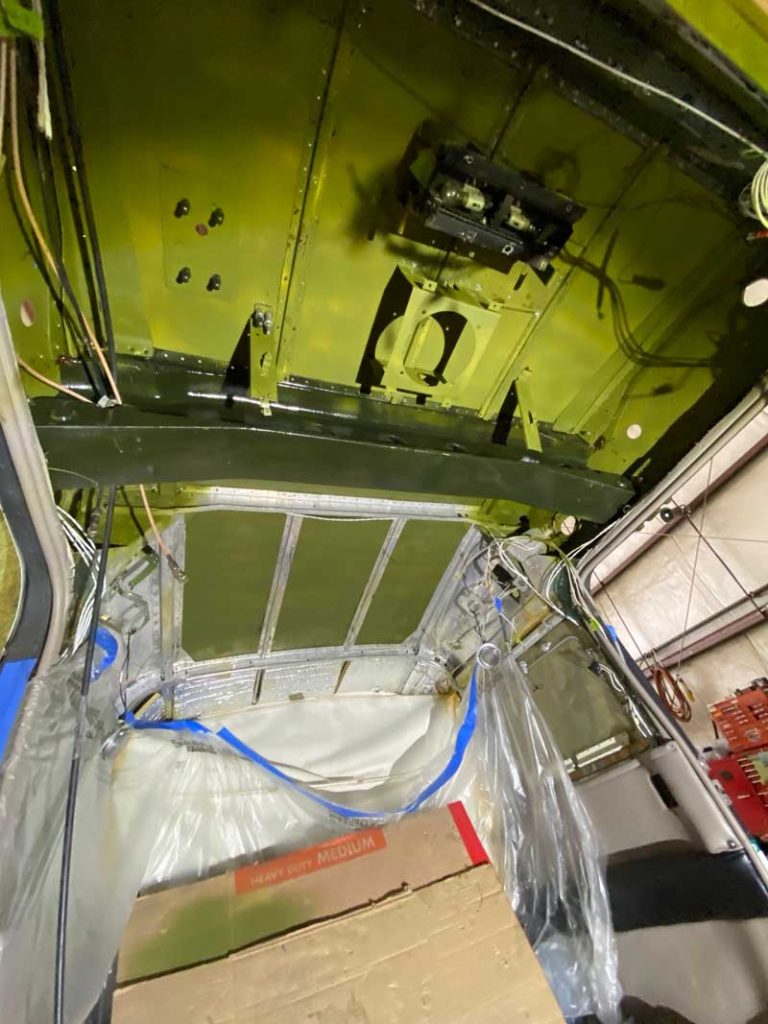
Another update for our readers on this amazing C210 Carry thru spar project. Just some pictures of all the new skin going on the top:
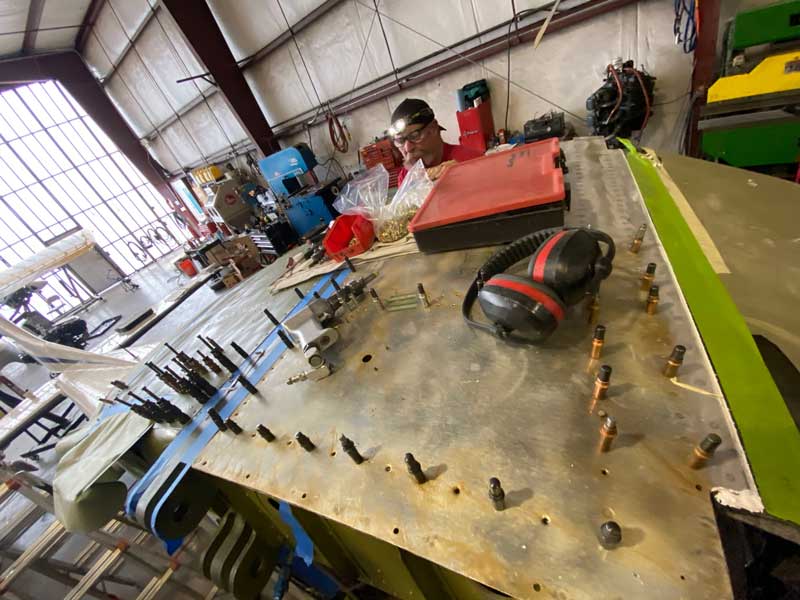
We have installed the new Spar permanently so it’s now in place, the reskinning of the top of the empennage is completed and we are getting close to putting the wings back on the airplane. Here are some updated pictures:
We are getting very close to putting the wings back on the aircraft which presents a whole new challenge. We are thinking of creating a customer platform we can use to lift and hold the wings in place while we reattach the controls, fuel lines, electricity, etc. Then since the attach points closer together as we go. I’ll get you some images of what we come up with but we are estimating we are only days away from being ready to get those wings back on this bird.
UPDATE
Putting the Wings back on the aircraft was not too bad. The tolerances and clearances are pretty tight so being able to align the attach points perfectly is key. The solution we came up with was to build a platform that could secure to the lift and cradle the wing. We covered the top of the platform with closed-cell foam to protect the paint and secured the wing to it. from there we used man-power to guide the wing into place and gently tap the bolts and Spar Pins into place:
There are a couple more attach points up near there leading edge of the wing as well but I neglected to get pictures of those. It should be said that the forward attach points do not attach to the Carry Thru spar.
After attaching the wings you have fuel lines, electric, control cables, the Flap motor and cables, skins, and an interior to all put back together, secure, and test. A time-consuming job but it allows you to go through and clean up/improve/repair some places in the airplane that rarely get attention.
With the wings all done and the airplane put back together it was time to finish up the annual by jacking up the airplane and swinging the landing gear. I do need to back up a little here because we did not put the new skin on the wings till after we jack up the airplane. We felt that having the airplane wings support 100% of the weight of the airplane while doing gear swings was a good opportunity to inspect the Spar Pins and attach point work we had done under the strain of the full weight of the aircraft.
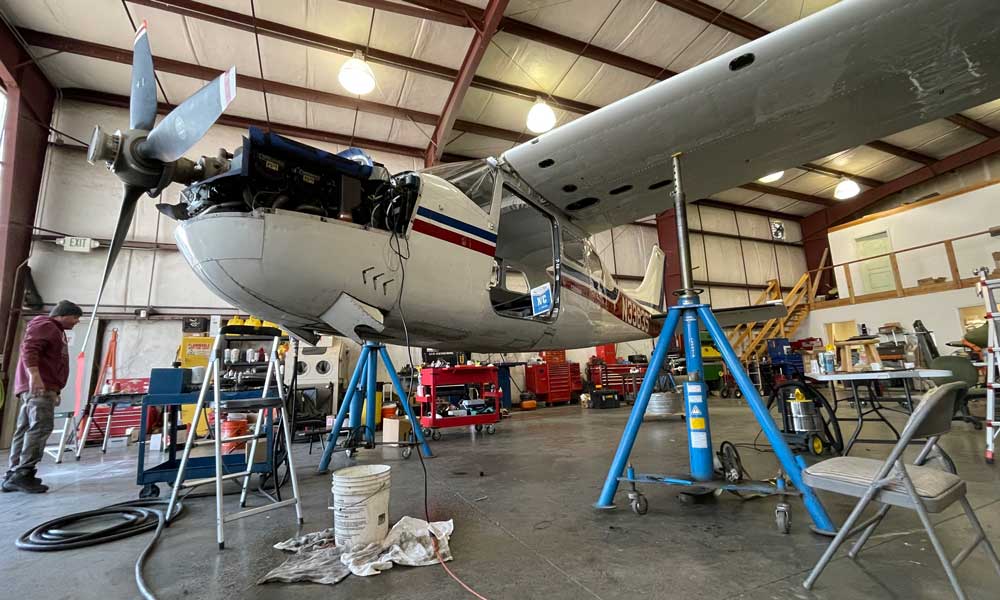
As you can see from the image above we had the hydraulic mule out and did 5 successful gear swings. Although the aircraft sat for nearly 3 years everything seems to work flawlessly. So we finished up the annual inspection, did the paperwork, and let the test pilot know it was time to take the airplane back up into the air.
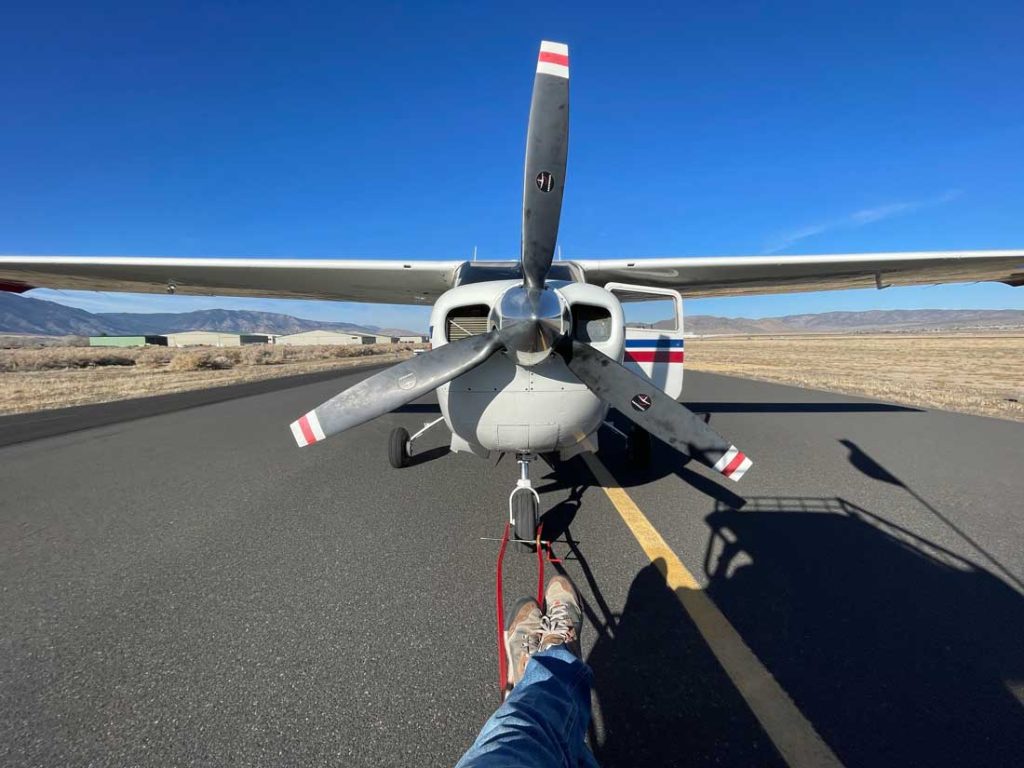
Having been there for the repair and seen how our A&Ps did the work I was much less nervous about the flight than I thought I would be. In fact, I was pretty excited to fly this airplane again. The Cessna 210 is a pretty special airplane and a lot of fun to fly. I did a thorough run-up and took off normally as prescribed in the POH. I was advised by some to do some fast taxi operations and low-level flights but after consideration, I ruled that out. I test fly a lot of airplanes that come out of major repairs, and restorations and I worry about the pilot-induced accidents that can happen from trying to be too clever. The flight went off without a hitch. The airplane flew straight and performed well. The test flight was 15 mins long, per our usual modus operandi and after landing, we did a follow-up inspection, and then I was released to do a one-hour flight. Cruising around the Carson Valley was beautiful and fun and this time I was able to test out the VOR’s the GPS, the ADS-B, the autopilot, and all other systems since I had the time.
Everything checked out and worked well. So we released the aircraft to the owner and finished up our business on this project. All in all, I would say the repair took about 160 hours in labor and the part was $14,500. With shop supplies and testing, and all things considered the job came to about $35,000 to complete. That’s about $15,000 cheaper than the owner expected.


