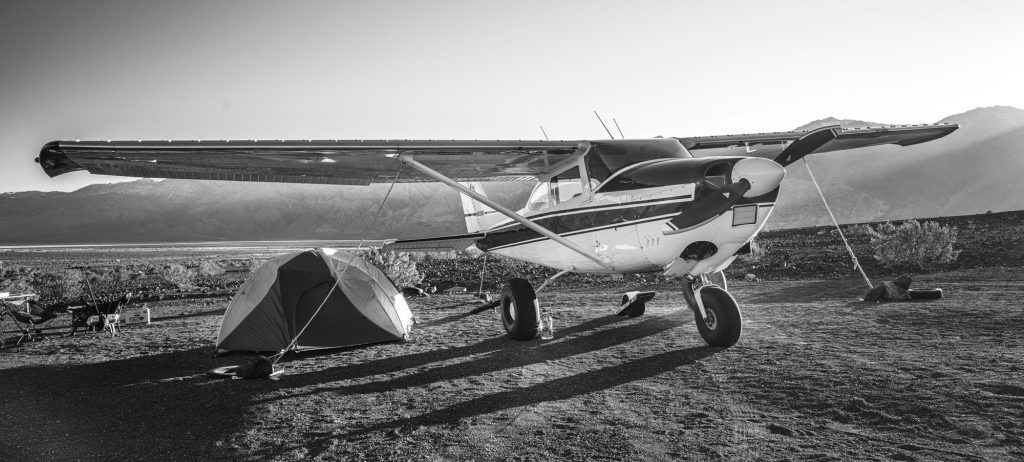
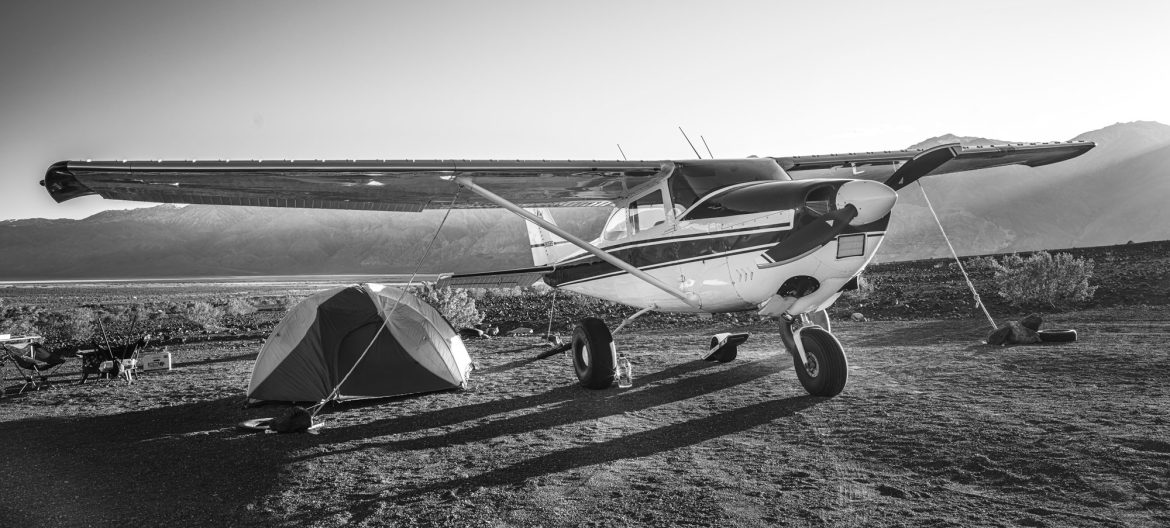
The Cessna 182 we have been modifying is a 1965 H model. It has an accident history of two ” hard landings” in 1967 and 1968 where the pilot missed the runway in Logan Utah and landed in a snow bank. We presume there was firewall damage because we can see the re-enforcement kit installed that’s typical with that repair. The logs do not note a firewall repair so we may be wrong on that, and there are no visible wrinkles or patches in the firewall. It could just be that the owner had the re-enforcement kit put in… but why since it was being used as a typical CX 182 with the standard tires and no mods… Either way, if there was a repair the work was excellent, and because the firewall re-enforcement was installed already we did not need to do that.
So, on to what the owner did want us to do.
- Paint
- Big tires
- Stol Kit
- Vortex Generators
- Simplify the panel (lose weight)
- MT propeller
- More Horsepower
- Less Drag
Let’s talk Paint.
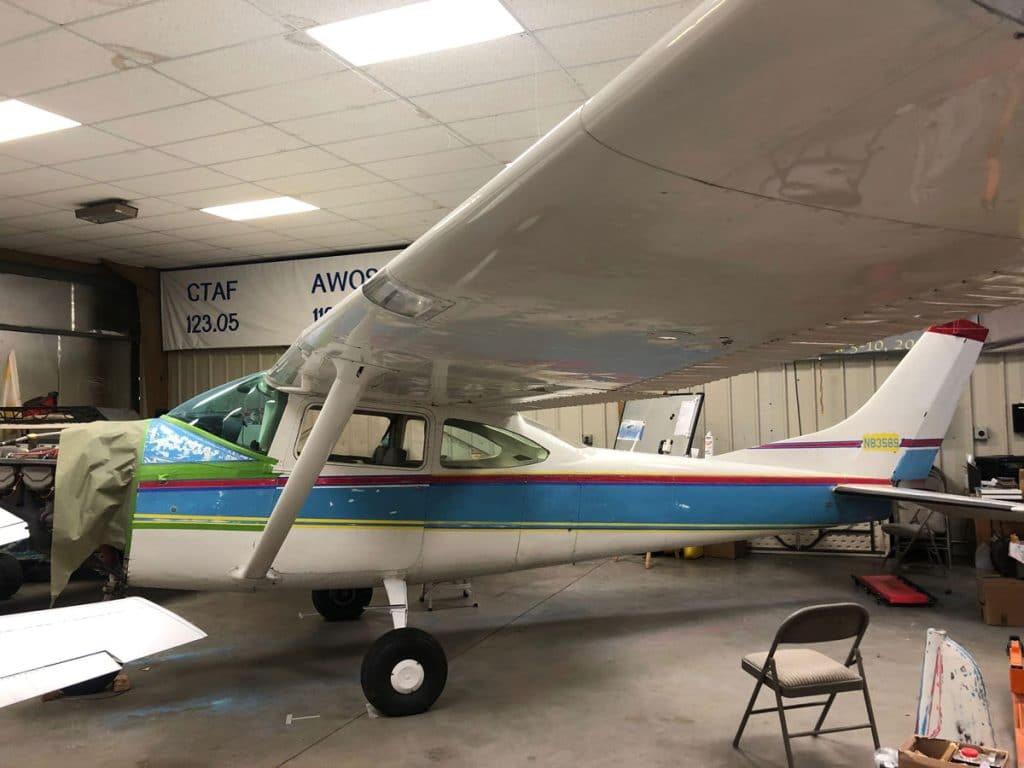
The aircraft was a three-color, sky blue, red, and white, scheme with white being the base color.
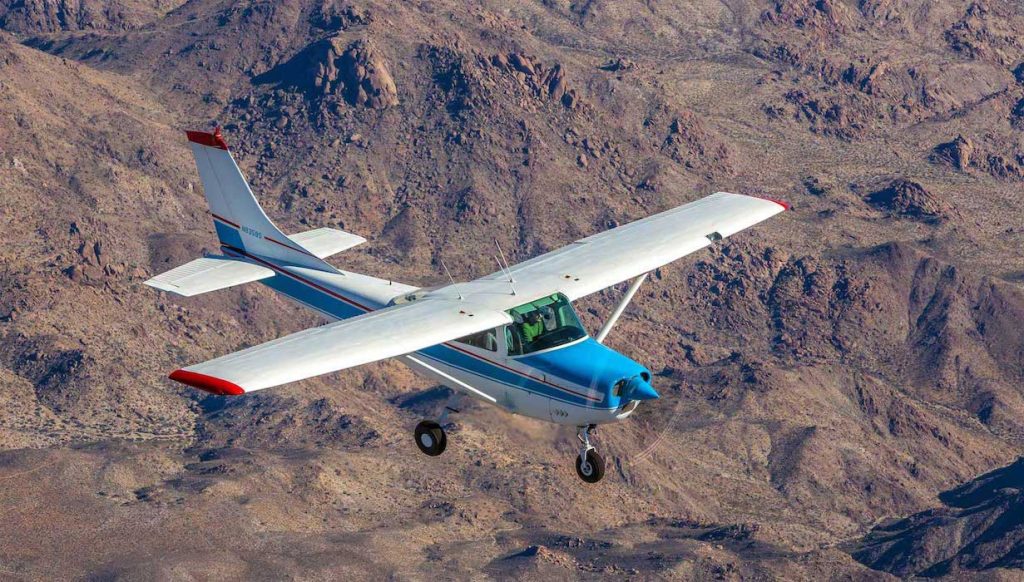
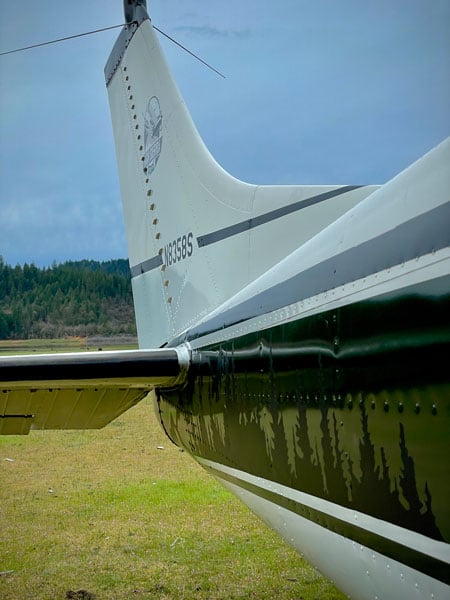
The owner wasn’t a fan of the colors and wanted to go for more of a “bush plane look” of green, black, polished edges, and white as the base. He also wanted a custom treeline in black for the empennage to really sell the backcountry look.
When painting an airplane you have really three different directions you can go. You can restripe, you can sand and paint, or you can strip all the previous paint off and repaint from there. Those options are in order of lowest cost in dollars and time to highest cost in dollars and time. This 182 driver decided that he could live with some of the “flaws” in the base white that had developed over time, he just didn’t want to fly around in a baby blue and red bush plane anymore. So we went with a restripe which involves sanding down all the striping on the airplane and repainting those parts in the new colors with the same, strait line scheme.
The owner ultimately chose a forest green and a glossy black. Both are darker colors so in the pictures you’ll see the treeline in black really shows up in the sunlight and is nice and subtle.
Big tires.
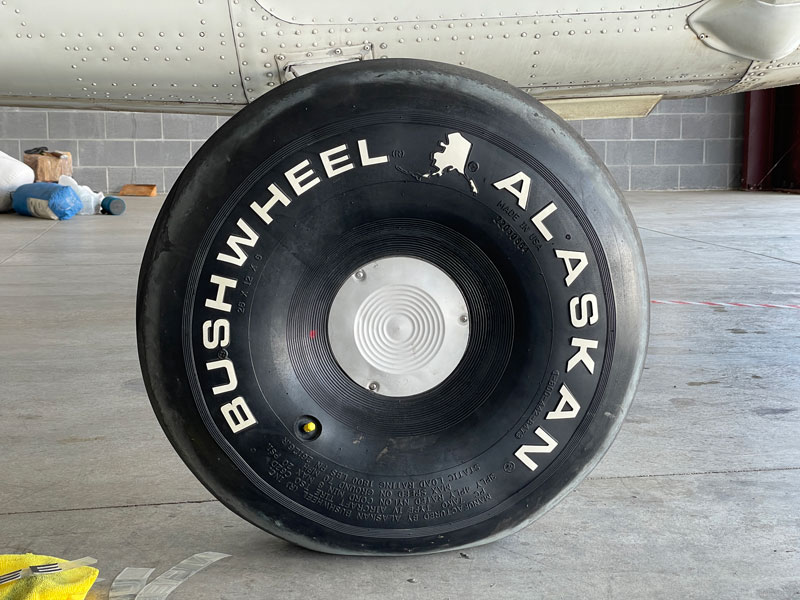
To decide what tires to put on this aircraft some thought had to go into what types of backcountry strips the pilot was intending to land on. 8.5″ mains and a 7″ nose is the popular mod for most 182 drivers since the 8.5s are pretty big and limit the speed loss in cruise. But in this case, the topic of landing on sandy beaches came up. So we decided a 26″ main with an 8.5″ on the nose would be the better option for this particular airplane. Now not all tires are created equal. Just because a tire is called a 26″ does not mean it’s the same as all the rest. Here is a great article from BCPs that goes over the tire sizes and some other good info on the use of those. https://backcountrypilot.org/knowledge-base/aircraft/90-knowledge-base/aircraft/188-tire-guide We ultimately decided to go with the more expensive Airframes Alaska Bushwheels in the 26″ even though they are the more expensive of the options. We liked the way the tires have the stem built into the tire and not protruding from the metal wheel. This would prevent the valve stem from being cut or severed by the tire spinning on the wheel due to the lower PSI these pilots want to/need to be operating these tires at, in order to get the best float over rocks, and yes, sand. They are also a little bigger than some of the other 26″ bush wheels out there and still relatively lighter than most.
To complete this we needed to get some beefier brakes to stop those big ole tires so we went to the ABI double puck brakes as well. We also got the Airglass nose fork to house the 8.5″ we put on the nose. Altogether the aircraft looks pretty good with the setup. Like a real bush plane and the owner is very pleased. One additional thing is that bush wheels can be purchased with an optional kit to install the tire decals that say Alaska Bushwheels. We got them in white and installed the kit on the tires. We felt it complimented the look nicely and was worth the $40 for the kit.
The STOL kit that was selected was the Sportsmen’s STOL kit. That’s a new leading-edge, aileron gap seals, and some other fittings. The reasoning here was that the performance in STOL was the best rated for Short take-off and landing. The owner did inquire about the Wing-X mod so we researched it and presented the data. The decision was made that the Wing-X would not benefit this aircraft in the way the owner wanted so we left that off and installed the STOL kit without extending the wings. For those interested the Wing-X does allow for a gross weight increase on the 182H but only 150 lbs unless you mod the landing gear also. Then you can get a 400 lbs weight increase… That is great for missions where you are landing at max weight and most of the optional mods are reserved for later models anyway. For bush flying the owner felt he was flying into these strips as light as possible and not concerned with increasing his GW on the books. The added length of the extensions to the wing, and the added drag that makes the aircraft handle a little sloppier (and yes a little slower at the top end) was not a good trade-off in this instance. That being said we have done the Wing-X mod on jump operation planes and tow planes, it is an excellent mod. Just not for this one.
Vortex generators went on the wings and the stabilizers. VG’s are sometimes debated among pilots as are all mods. We can tell you when done right they make a noticeable difference in the handling characteristics of the airplane. The reason we went with VG’s on this project is to counter the nose-heavy characteristic notorious for early model 182s. The C182 has two major weaknesses for backcountry use. The nosewheel is attached to the firewall in a way that makes it vulnerable to damage if one is not mindful of its limits. And the CG is rather forward in 182’s so when you get them slow the weight up front tends to cause the nose to come down more abruptly than other aircraft. The goal with the VG’s is to gain more authority at slower speeds, especially over the elevator. They are not, as mods go, terribly expensive and they are worth it if you want more control in slow flight. Since that is the expressed mission of this airplane, on they went.
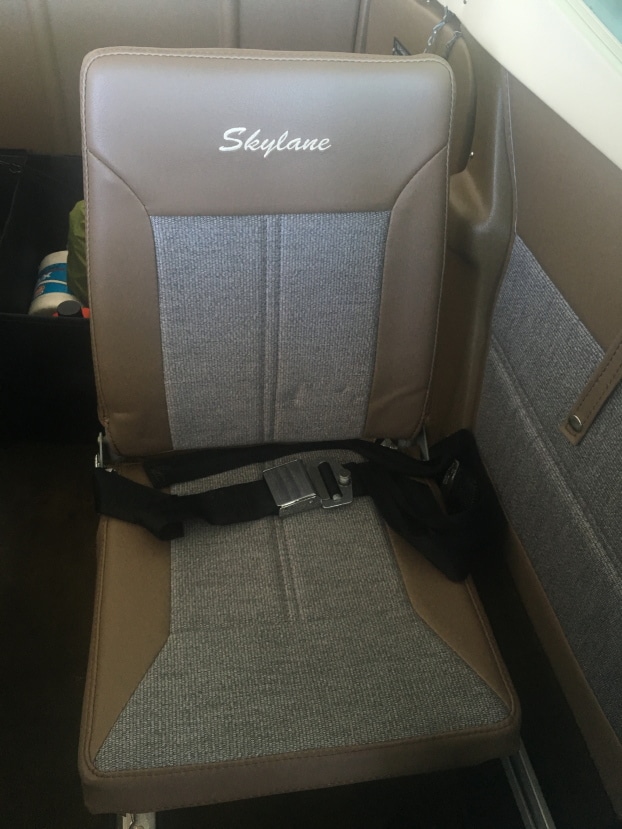
This owner had the interior done including removing the bench-style back seat and replacing it with folding jump seats that are easy and quick to remove or fold up along the sides of the interior for more room. The interior was done by a shop in Westover CA. called “the Recovery Shop” and it was very well done. We recommend them highly. The seats were done by Aero Services in Utah at KBTF, an excellent shop we also recommend highly.
Our task was to remove the vacuum pump and instruments and replace them with AV-30s and a panel mounted, (powered and cooled by the aircraft) iPad running Foreflight. This was tricky because the H-model 182’s has the yoke control higher up in the panel making it so there wasn’t room for the 10.9″ display that is the iPad Pro. The owner did not want to settle for an iPad mini so we created a modified panel that popped out just a bit but had the same green aluminum housing as the rest of the panel. This sounds bizarre but it looks good and works great. We chose the Guardian Avionics STC for the panel mount, power, and cooling of the device. Paired with the Appero Transponder the iPad get traffic, weather, and synth vision all on Foreflight, all on a high res display. The AV-30s provide primary instruments and the iPad puts the EFB right in the panel. Kinda cool, but more important. it’s lightweight without the vacuum pump and those heavy instruments. For radios, the owner went with a Garmin 430W and an SL-30.
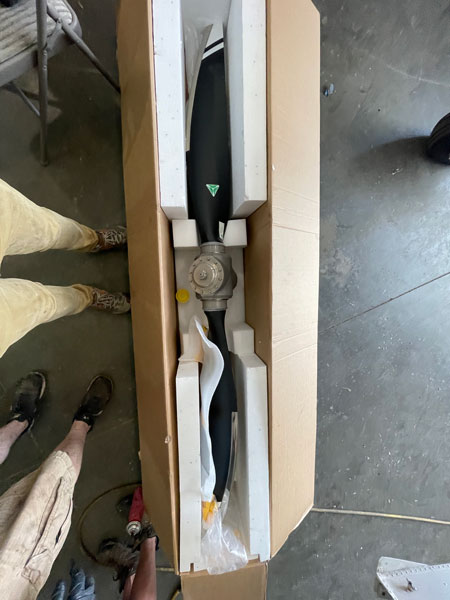
The MT composite propeller we got from an outfit in Florida called “Propeller Man”. They were nothing short of a delight to work with. I’ll spare you too much about this composite prop vs the other one, suffice it to say the completed install took 16 lbs off the nose of the airplane and reportedly provides an additional 60 lbs of static thrust over the 2-blade stick prop. They say it’s quieter.. we didn’t really notice much noise reduction. They say it has less vibration. We didn’t notice any less vibration over a properly balanced aluminum prop either. They say it slows faster and is like a big airbrake when you flatten it out, and that’s true. The downside to that in this application is that you all but lose the ability to hand prop your plane should your battery die in the bush. Don’t get me wrong, you “can” do it. But if you are familiar with the perils of hand propping this lightweight prop accentuates those perils quite a bit in our opinion. But the weight reduction off of the nose was what the owner wanted most. It did take some consideration to go with a 2-blad rather than a three-blade. The owner wanted the additional performance of the 2-blade since he was staying with the O-470 power plant. The MT for this airplane is an inch longer than the Mac that was on it (from 82″ to 83″) but the big tires still gave it additional clearance over the ground (an additional 3″ all said and done).
More Horsepower.
Keeping the O-470 with the option to go to a larger engine down the road was the directive. “Get the most out of my O-470”.
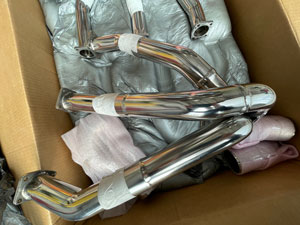
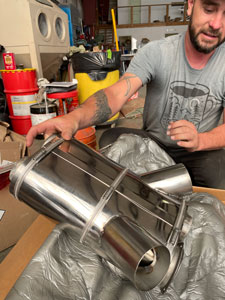
First things first, intake improvements and exhaust. We put the challenger air filter on to let a less restricted flow of air into the engine. A simple, affordable, basic mod you can do to just about any of these Cessna’s, and, yes, it does make a noticeable difference. You won’t write home to your Mommy about all the new power but you will notice your engine performs better with more air. Next, we ordered a Powerflow high-performance exhaust for the aircraft. Now we have been putting Pwerflow on our little four-bangers for some time and we know for a fact they are worth every penny. We even put the LEES exhaust on our C210 and are happy as can be. So when Powerflow bought LEES and started working on the offering to get these on the 182 we jumped on it. First off the engines sound much beefier, second, they run cooler (CHTs down bout 10 degrees on the 210), and they brighten up the performance with an additional 15 horsepower for the O-470. We like em, we recommend them, and we will use them again and again on our own fleet and for our customers who want more juice without replacing the powerplant.
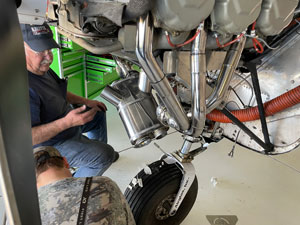
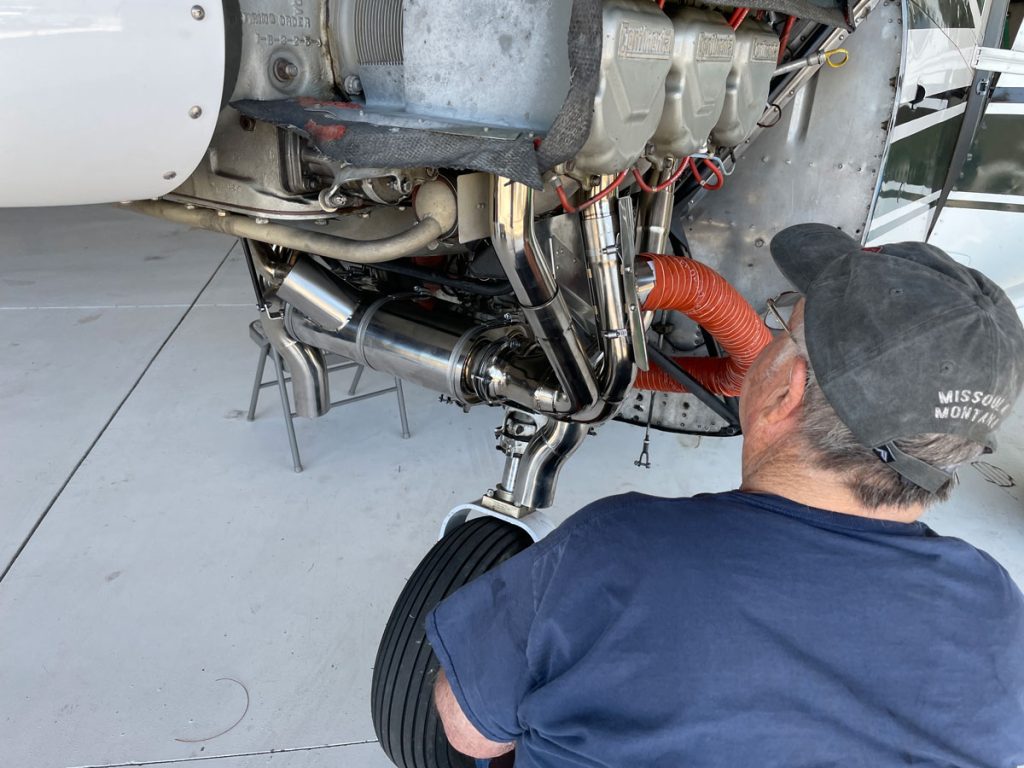
Next comes the Port and polish. This we don’t do ourselves but we do send them out to Lycon who reports about 4-6 additional HP per cylinder for a total increase of 24-36 Hp increase. So let’s add this up 2-4% more HP from Challenger = 4.6 Hp + 15 Hp from Powerflow + 30 hp from P&P top-end = 49.5 additional added to the 230 HP O-470R = 279.5 HP with 60 lbs additional static thrust from the MT Prop, better take off with the STOL kit, more control at slower speeds from the VG’s and more information in the cockpit and less weight over the nose, with more room in the back for more whatever you like to take camping.
Less Drag.
The Sportsmen’s cuff includes aileron Gap seals already so when evaluating what to do for this directive our options were, Flap gap seals, wheel covers, and the cowling fairing kit. We did not go for the flap gap seals due to the data that shows closing the gap makes the flaps less effective at providing vertical decent speeds when deploying to 40 degrees than with them off. The owner decided to sacrifice the 2-3 mph increase in cruise speed promised by the flap seals for the increase in the decent rate you get from the gap. So we went with the Cowl & body fairings which promised 3-4 mph in increased speed. The wheel covers (not to be confused with wheel pants/fairings) were something the owner already had on the airplane (more like dust covers for the wheels).
The Cowl & Body fairing makes the upper part of the nose gear less draggy and is shown to give you about the same speed increase as closing your cowl flaps-ish. We were skeptical but happy to give it a test and see since we have had luck with speed mods before. After all, if you’re gonna put big ole 26″ tires out there in the wind then every other little bit of drag you can eliminate will only help offset the speed loss.
So in conclusion here is the performance specs on this customized 182H from real-world testing but before you read these numbers keep in mind all these old birds are gonna have published numbers that may have been true when they were brand new. But these old airplanes almost never do as well as you read on the internet. These are real-world numbers for a 57-year-old C182H. Also, the test pilot is no STOL/DRAG competition pilot, but rather a normal backcountry pilot who flies onto unimproved airstrips, no gravel bars, and off-airport stuff. So a more experienced STOL pilot may be able to improve the #s.
- KMEV
- 75 Degrees F.
- 4724 MSL (DA 6100)
- RWY 30 – Paved @ 5,299’x75′
- 41 Gallons Fuel
- Pilot 180 lbs
- 45 lbs misc gear (72 hr kit, monster tie-down set, tow bar, extra oil, backpack, Goal Zero Battery, and Solar panel)
- Take off distance 580′ (Before mods = 782″)
- Sustained Rate of Climb 1300 fpm (Before mods = 800 fpm)
- Our approach speeds were 45 mph IAS (Before mods = 60 mph)
- Full Stop 385′ on dirt RWY 30G (Before mods = 590″)
- Stall speed 35 mph IAS (Before mods = 55 mph IAS)
- Cruise speed 135 mph IAS @5700 MSL (Before mods =124 mph IAS)
- Cruise speed 126 mph IAS @11,500 MSL (Before mods = 116 mph IAS)
So, do the performance #’s really support the idea that we got nearly 280 hp out of this C182? Not really… I would expect the ROC to be 150 fpm better and the cruise speed to be about 5-10 mph faster in say O-520 conversion 182 with the big tires and all the mods. By the performance numbers, I’d guess we are probably pushing 265 hp which is still very good. Especially when you consider the $$ difference between an XP-470 conversion costing 60k (as of May 2022) for the engine alone with no STOL kit or prop etc, etc., you’ll likely be in the $100k+ range all told. This project came in just about 50K with paint! Now the bottom end of the speeds exceeded our expectations. To be able to approach at 45 mph in a Cessna 182 is ridiculously slow. The King Katmai drivers report slow speeds of 55 mph. This 182H was consistently doing 45 mph without a nose-high attitude and was completely stable with plenty of authority. The big 26″ bush wheels running 15 PSI did great on the dirt and really made every landing seem better than they probably were.
We did test fly the airplane before the VG’s went on and we felt that the slow speeds of 45 were there but with almost no authority making it unsafe in our opinion to operate below 55/60 mph (but we are a bit conservative about this stuff). The addition of the VG’s properly installed made slow flight in this airplane not just possible, but pretty effective. They really brought the STOL kit to life.
All in all, this is a new airplane in terms of its mission going from a good cross-country machine to a great backcountry machine. With the C182 properly modified you can take people and gear into 80% of the backcountry strips out there and get there in short order.
